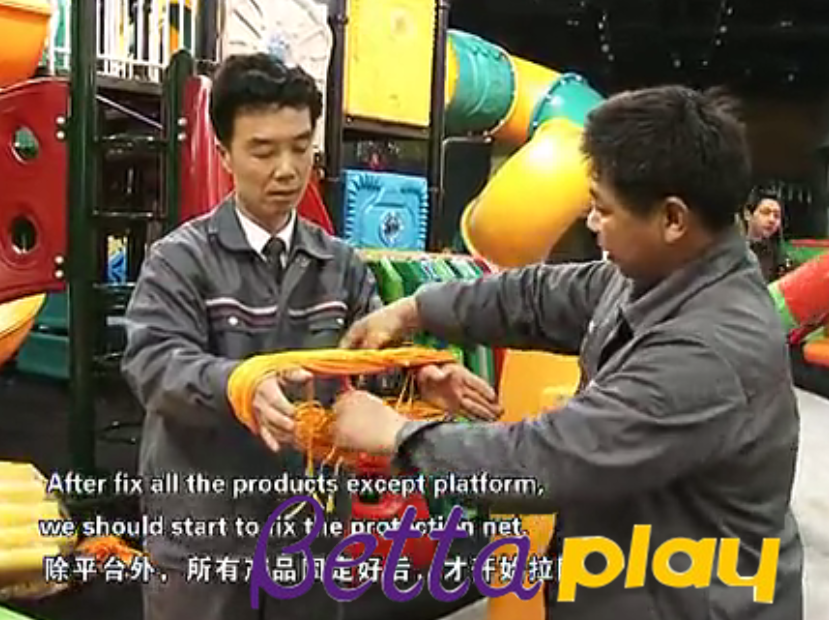
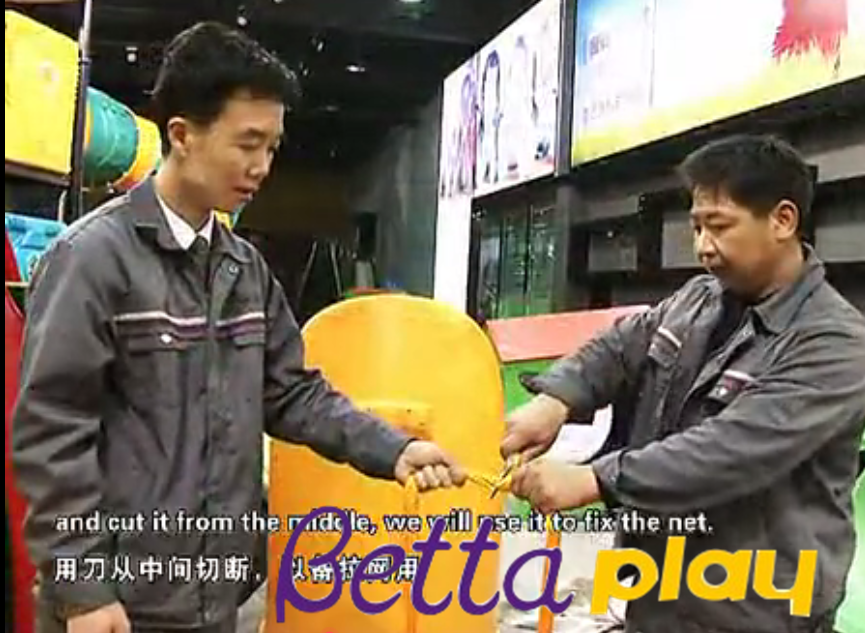
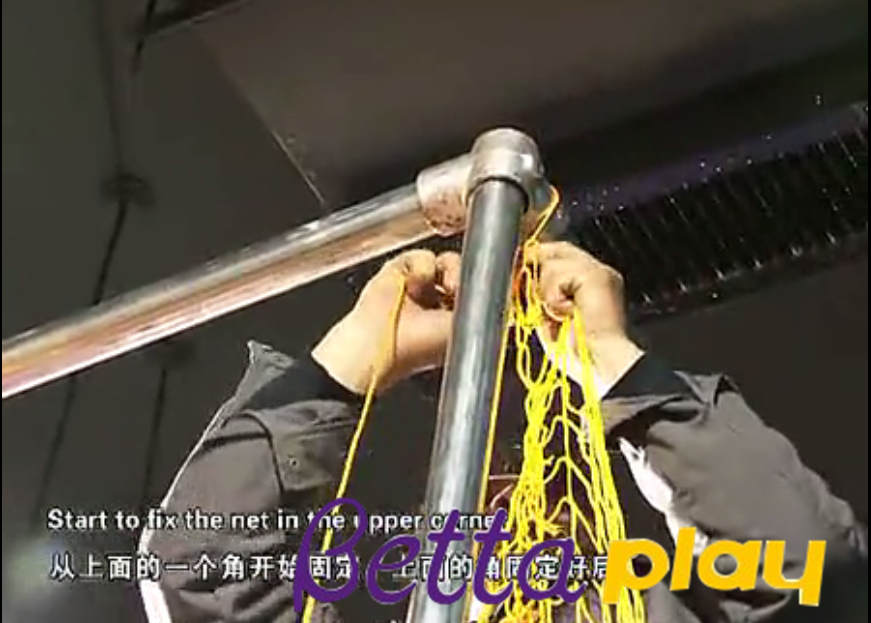
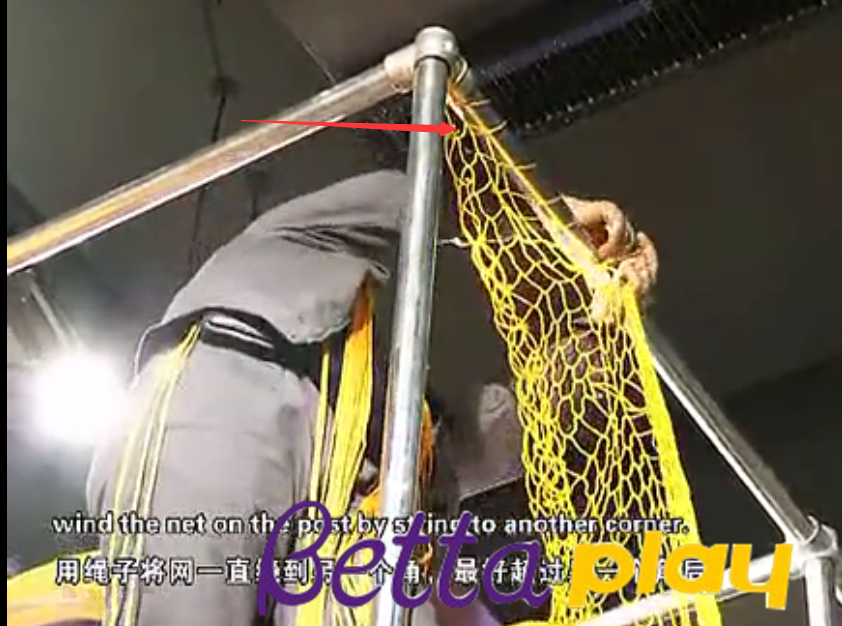
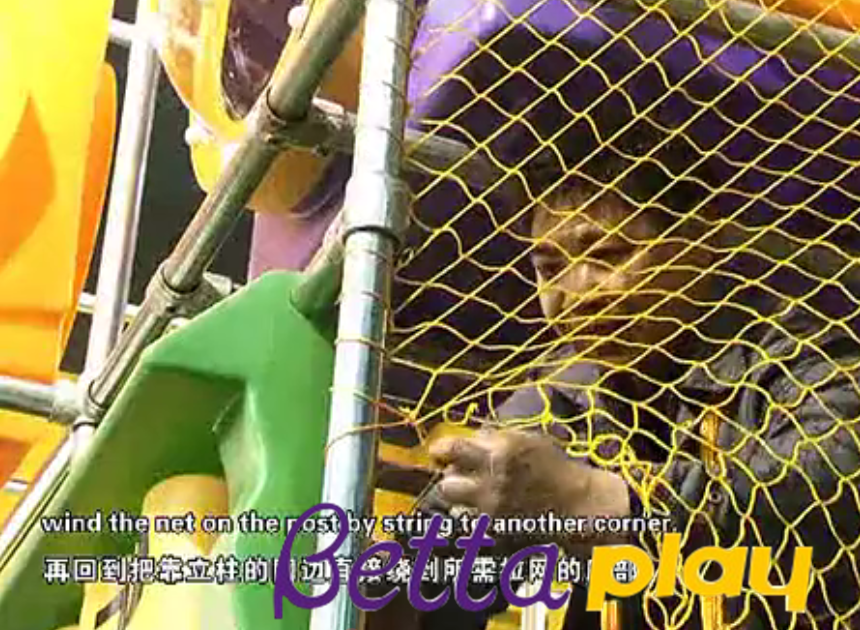
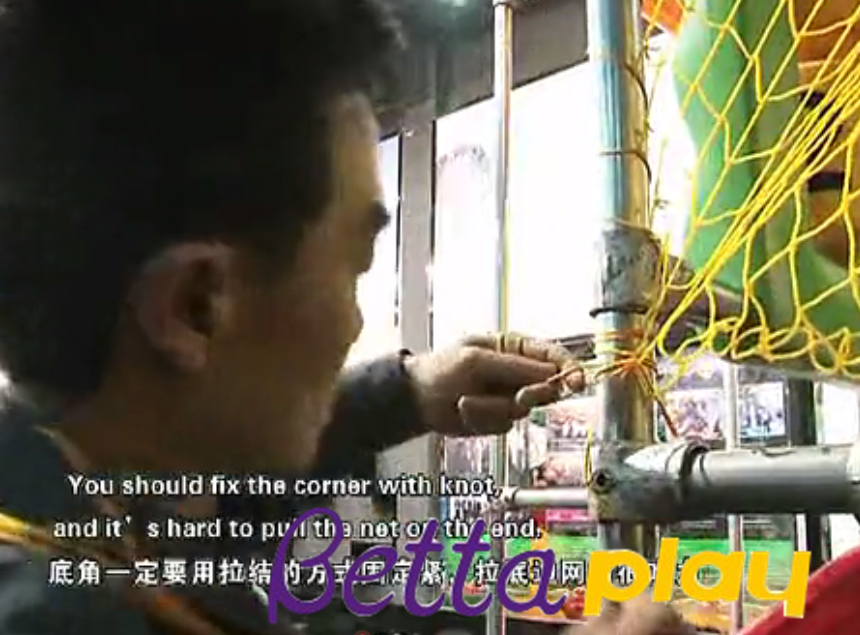
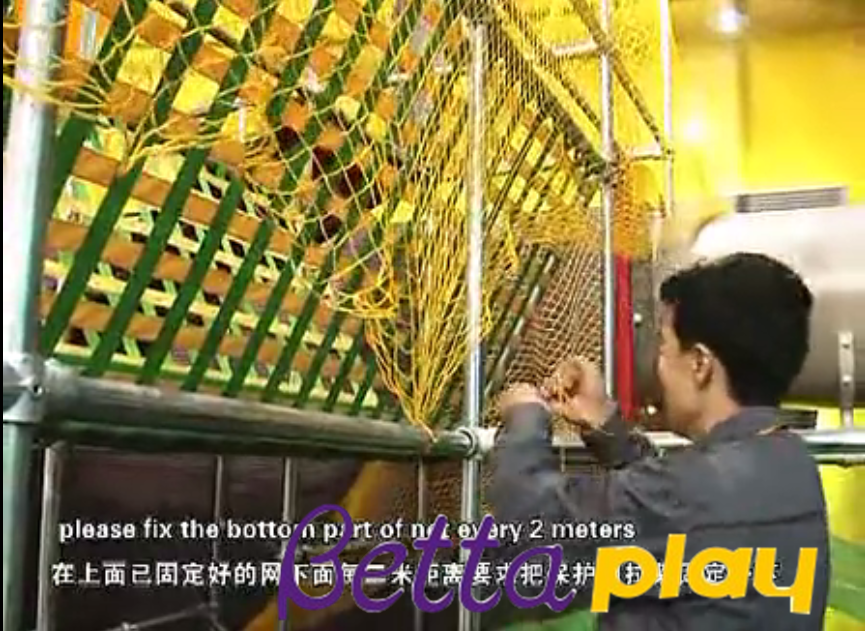
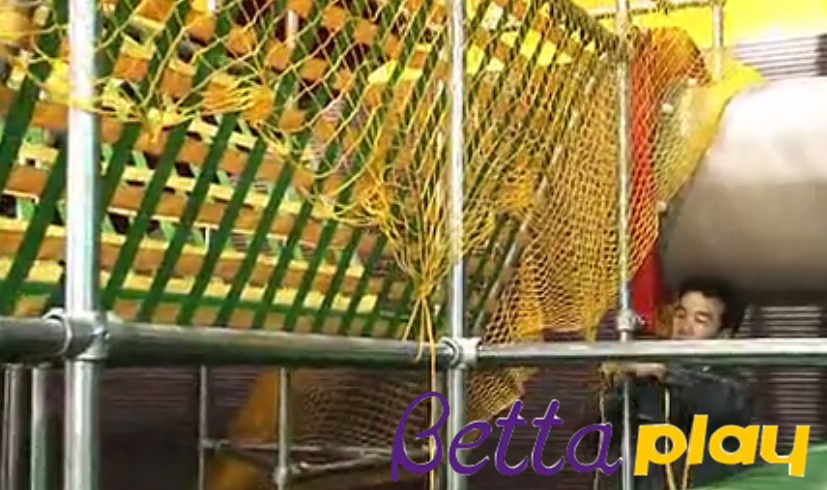
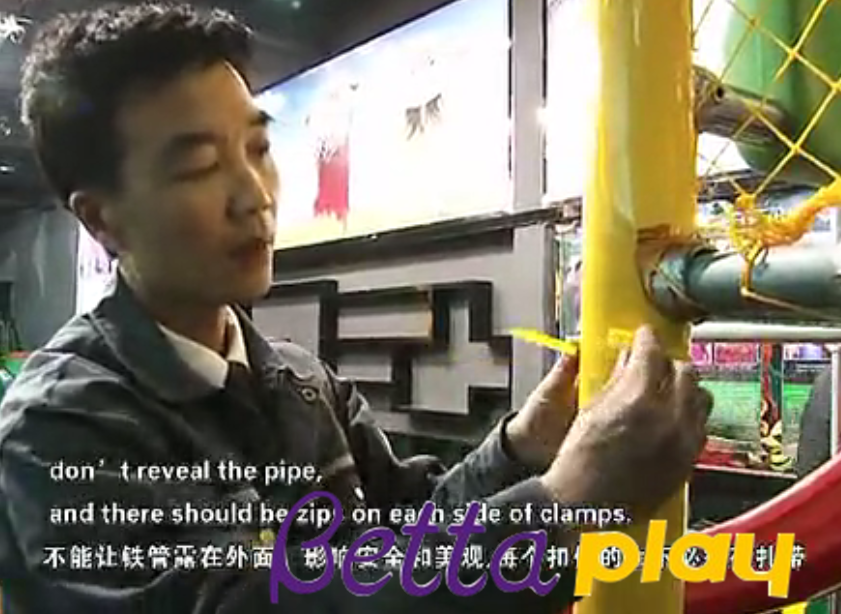
The video will be sent by whatsapp/WECHAT to you . Please feel free to contact us freely if you have any questions, my whatsapp is 0086 189 6899 6888
Indoor playground for kids installation
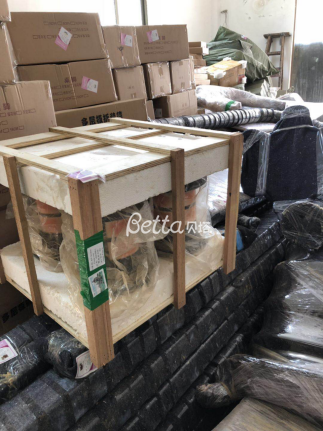
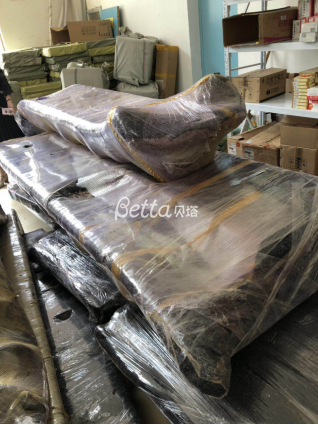
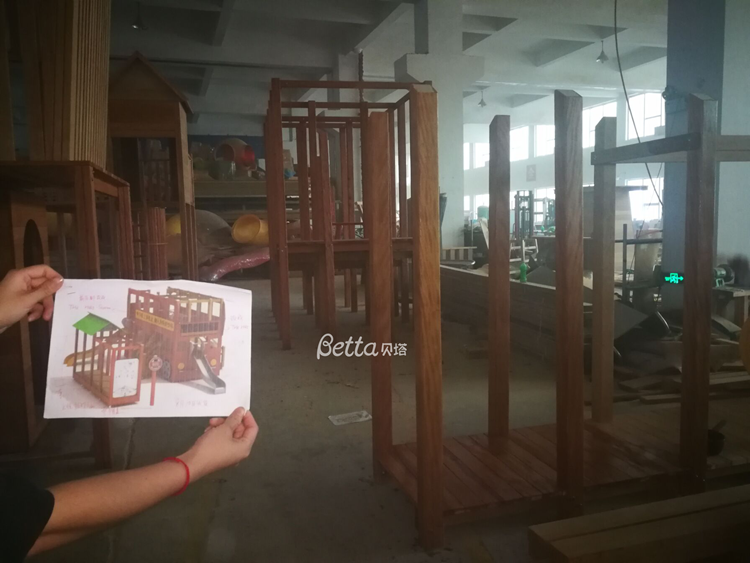
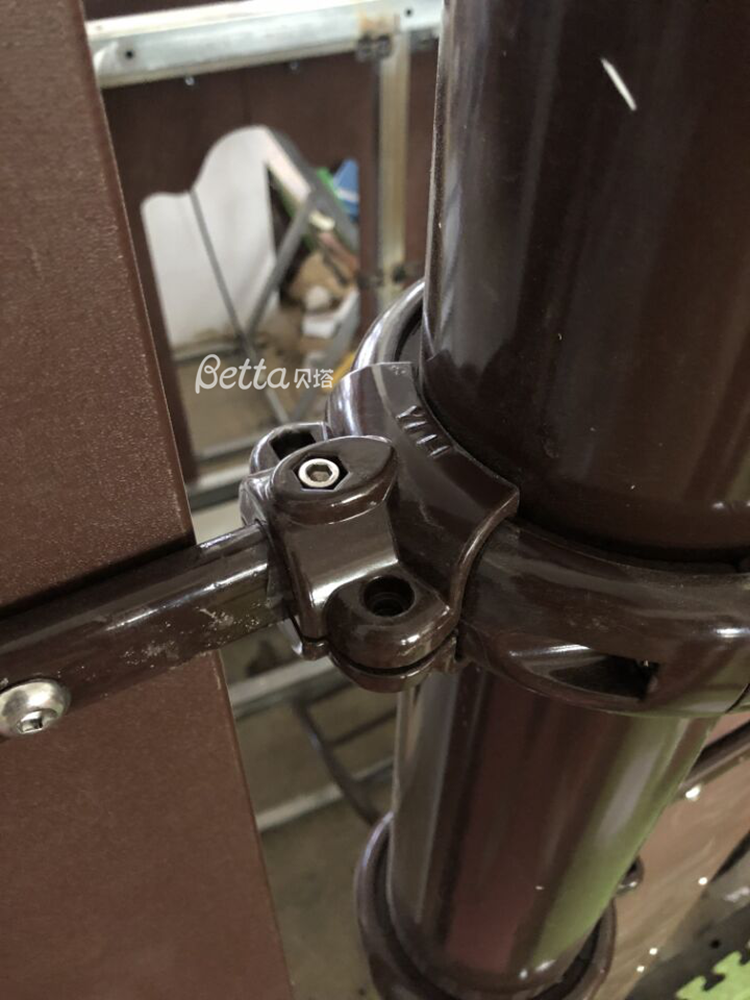
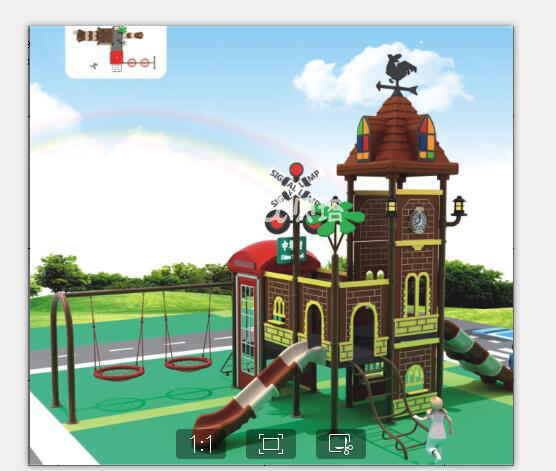
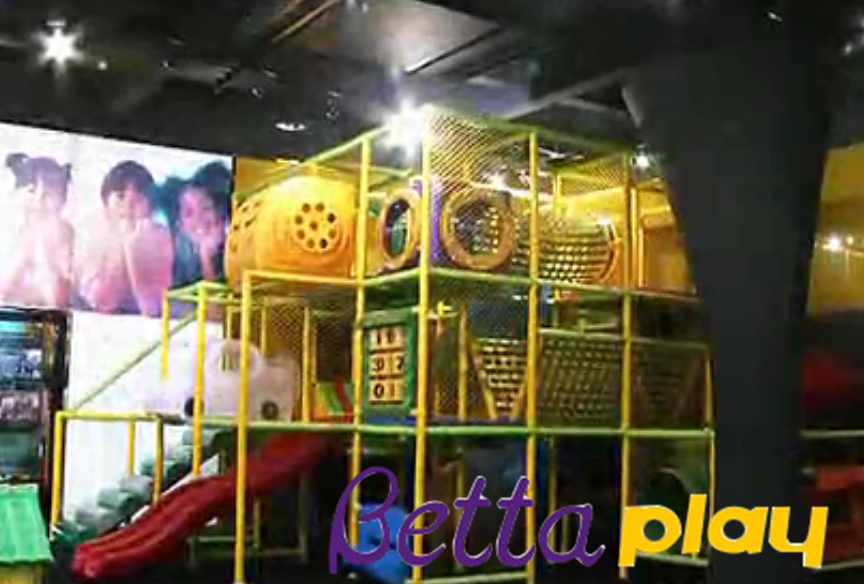
How to install indoor playground for kids ? The indoor playground for kids is a comprehensive child playground equipment. The necessary components include fasteners for linked steel pipes, such as three links, five links, etc. Steel pipes are also the mainstay of the overall frame. It is mainly used to fix the corresponding equipment in the middle of the shelf. The connecting pipe is generally made of seamless steel pipe. The steel pipe generally needs to be cut to different lengths according to the needs of the site, but bettaplay can cut the steel pipe according to the requirements and design of the customer, install it and mark it, then package them and transport them to customer’s area to be reinstalled.
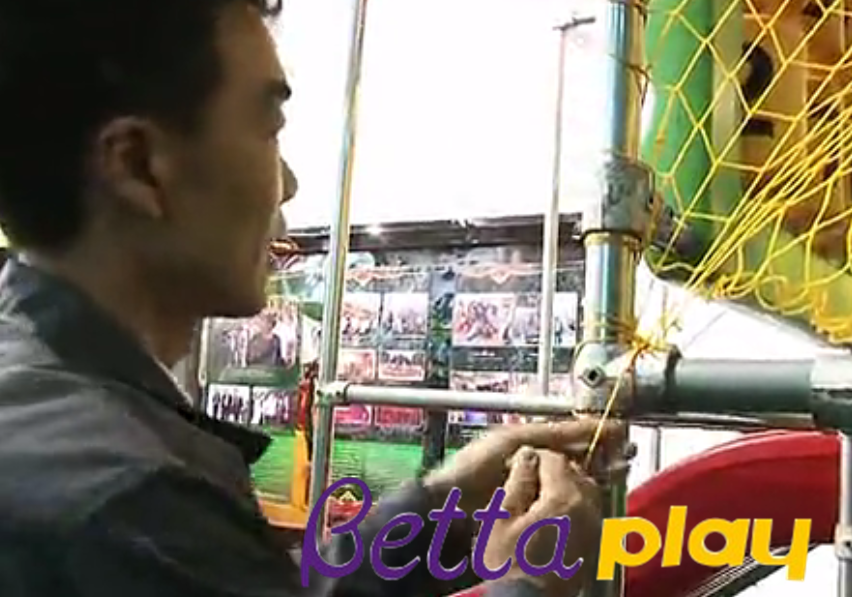
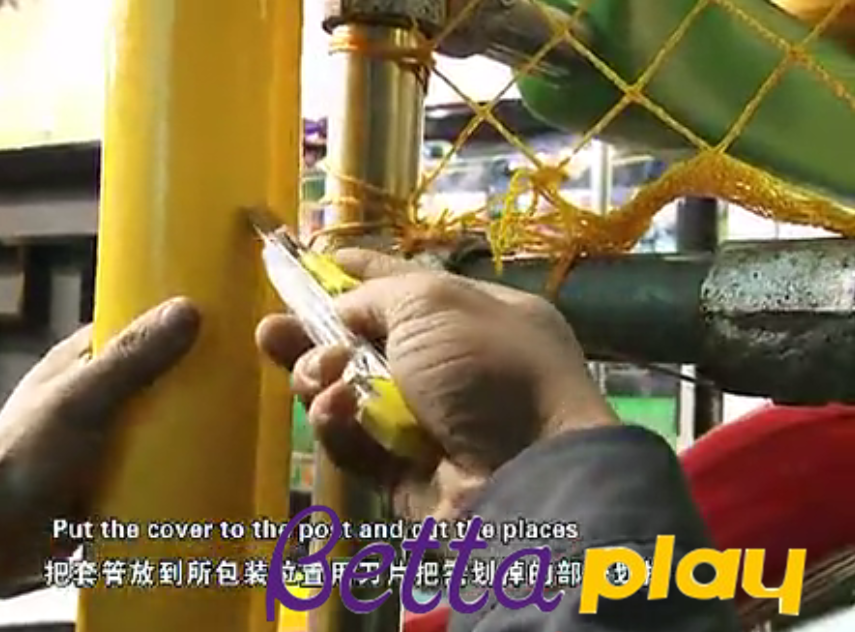
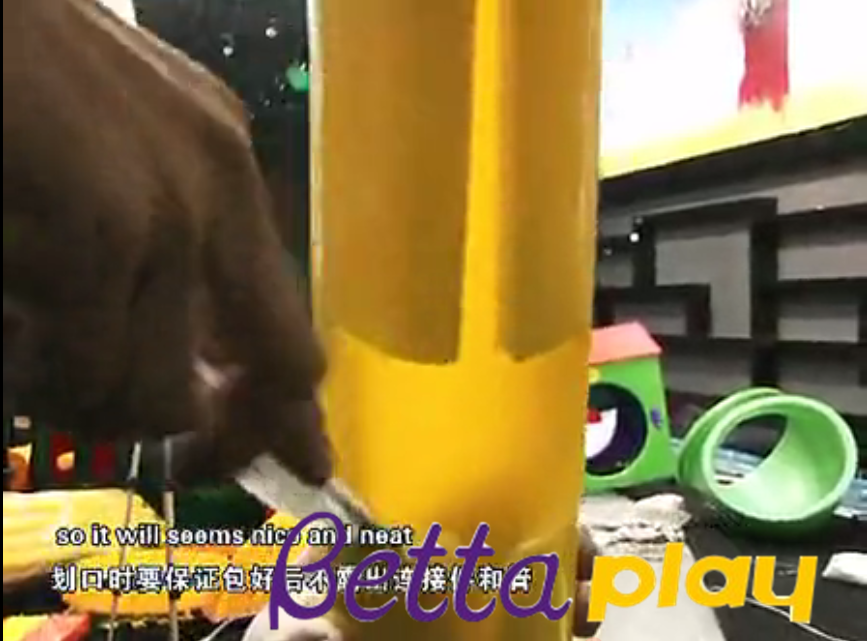
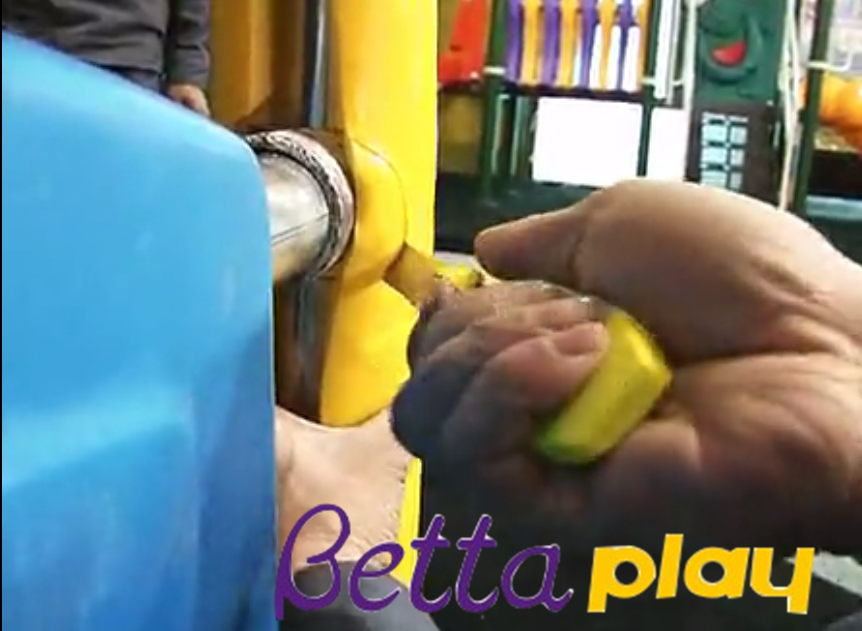
Frame installation The installation site is installed on the connecting pipe at the appropriate position on the connecting pipe, and the screws are tightened with tools.
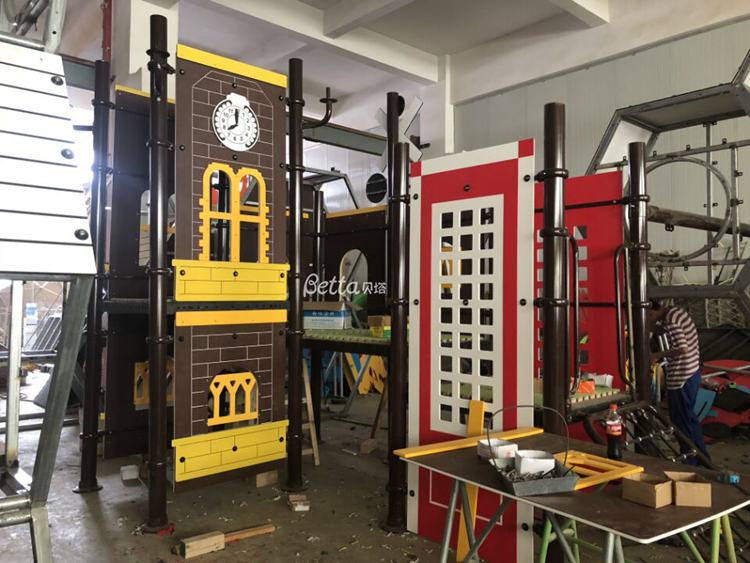
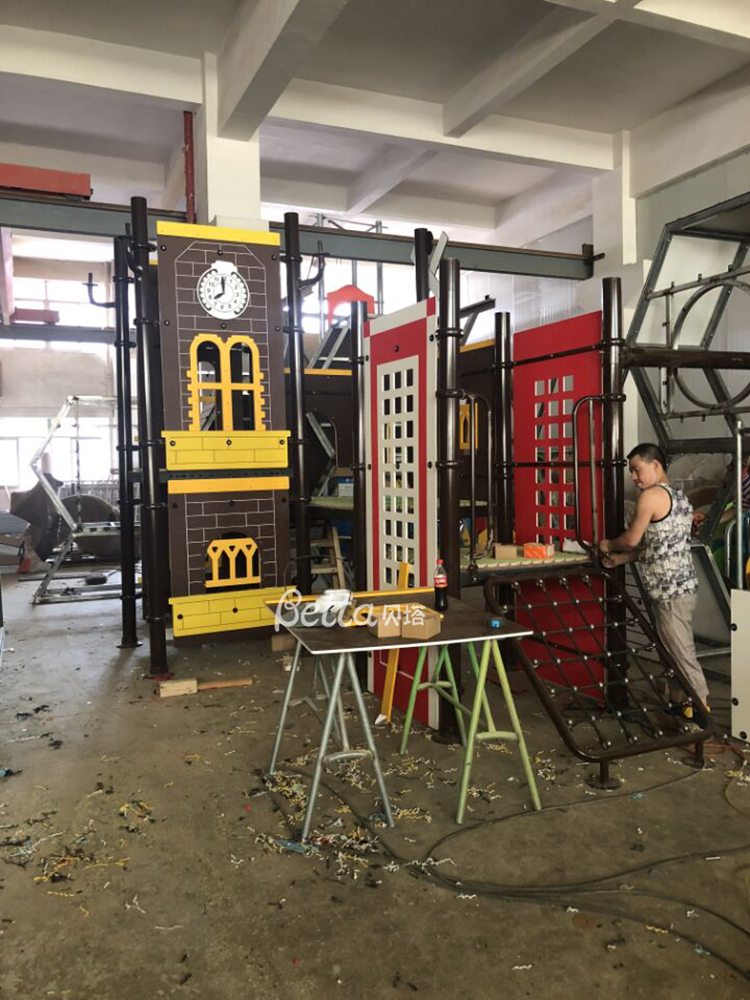
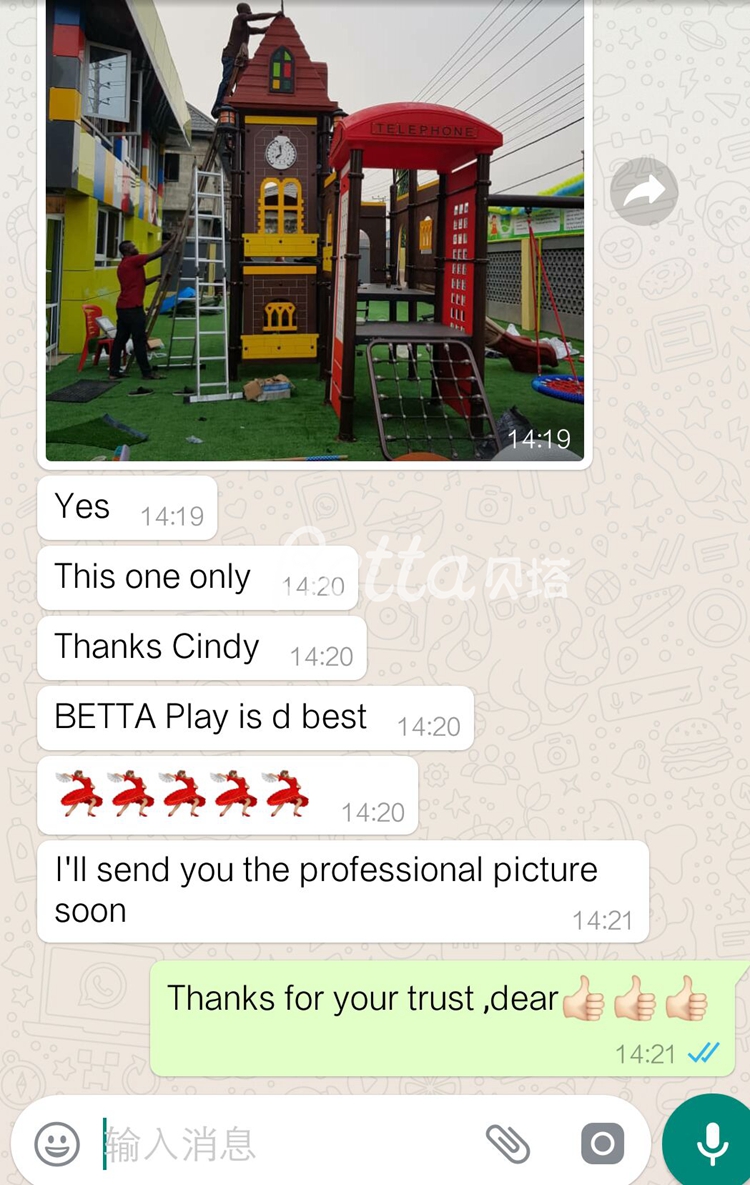
However, the guest's simple frame of 2-3 floors has been completely installed in the factory, so the fasteners have been installed on it, and the fasteners do not need to be removed. If it is a large frame with more than 3 layers, it is recommended that customers can order our installers to install in advance, so that the installed products are definitely safer and more refined and save you a lot of time.
How to install if you want totally install by yourself ?
First you need know the following parts of the indoor playground frame parts.
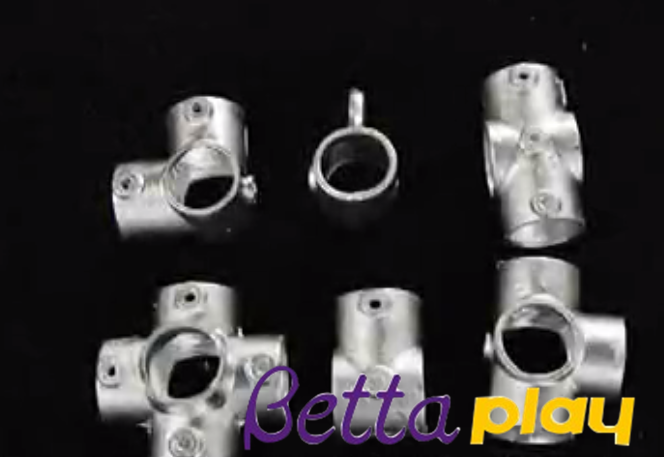
1. Catchers of different direction quantities
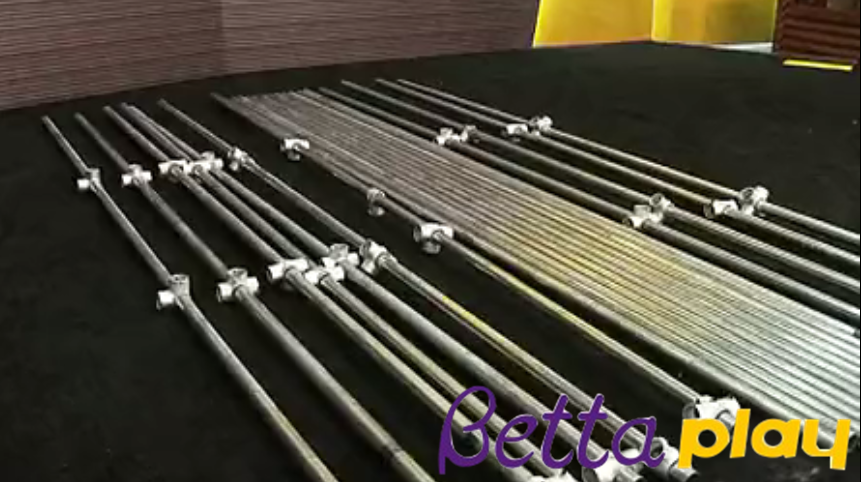
2. Vertica l Posts with catchers
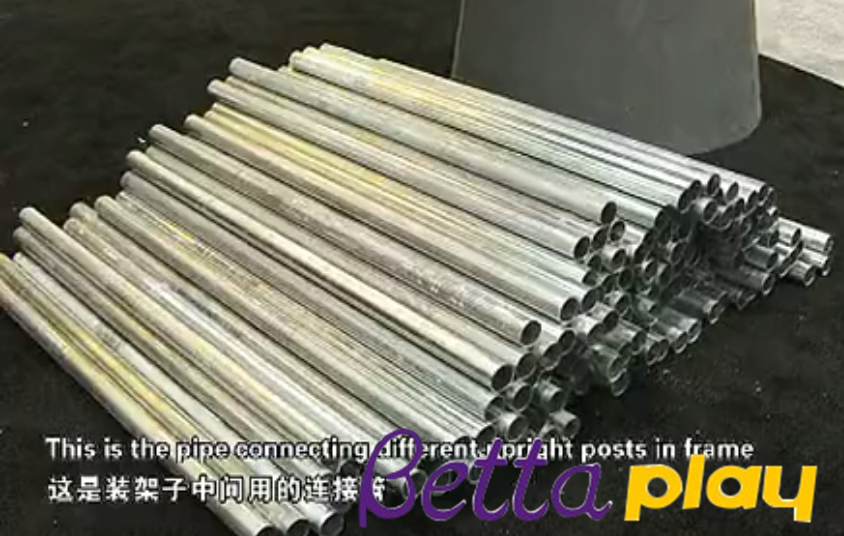
3. The pipes to connect different upright posts in frame ,of same length 118cm
4. 
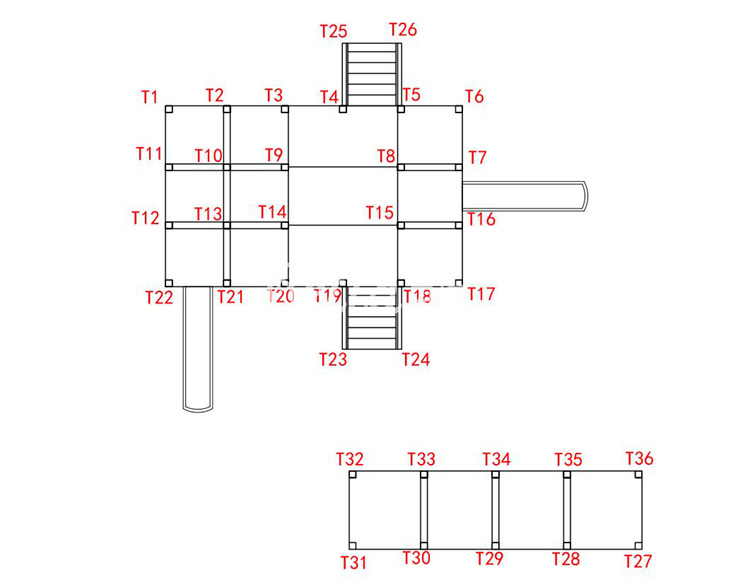
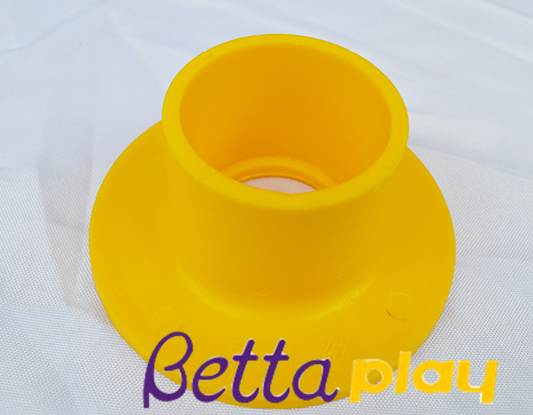
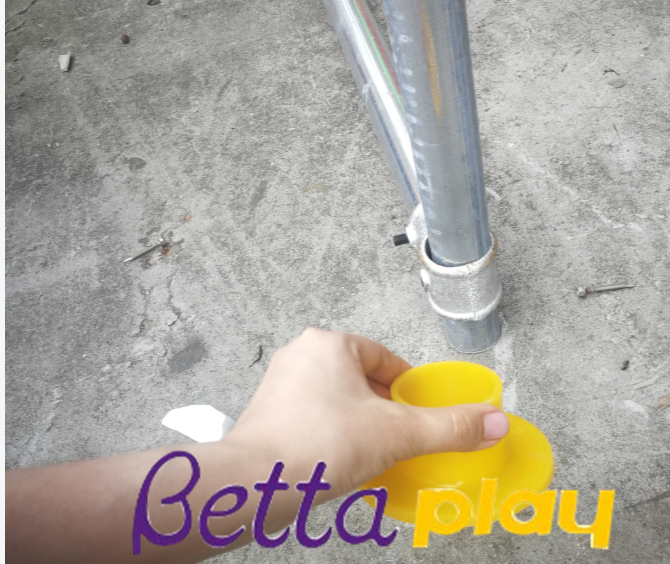
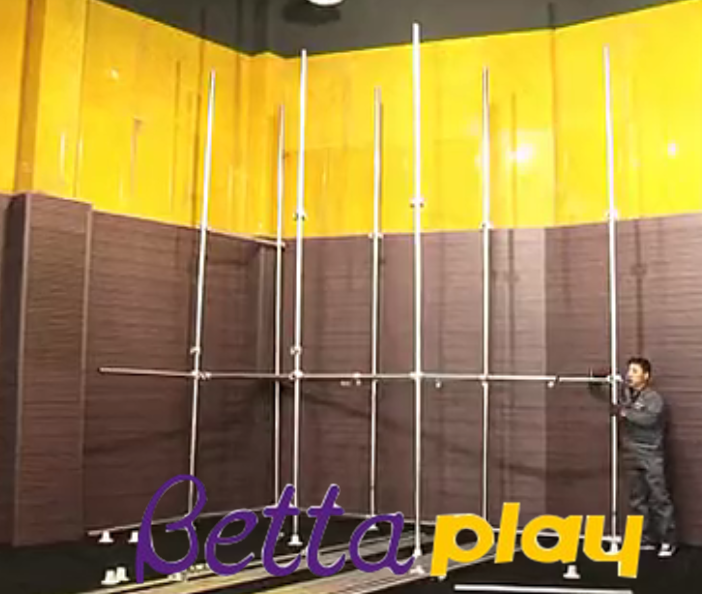
5. A person shall stand up by a column on the corner of the wall according to the drawing, put it in the right position, put the steel pipe column into the link piece according to the drawing, and put the fixed foot plate on the lower side.
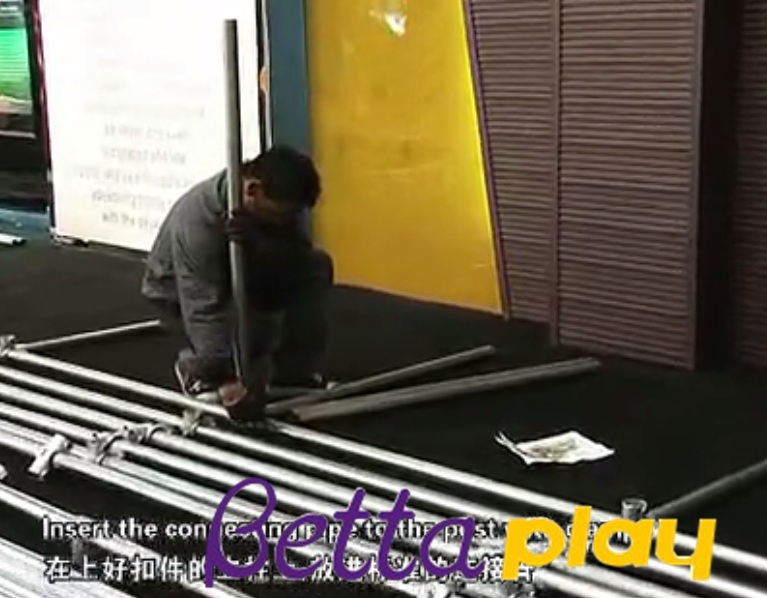
6. According to the requirements of the drawings, pick up another column, put the connecting tube into it, let connecting tube contact the column tube, and tighten the screw with the tool.
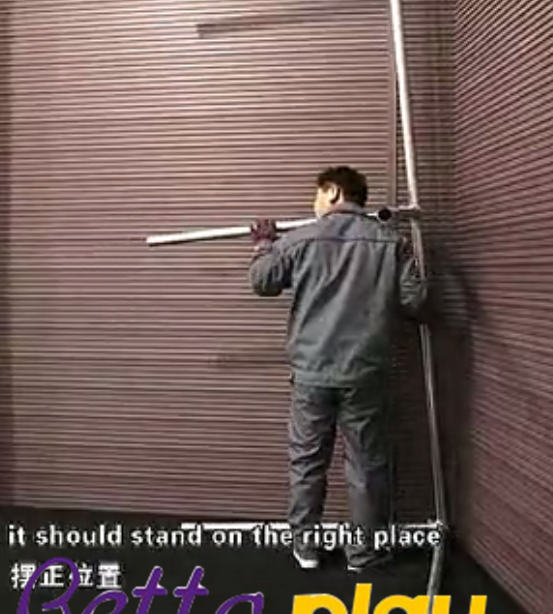
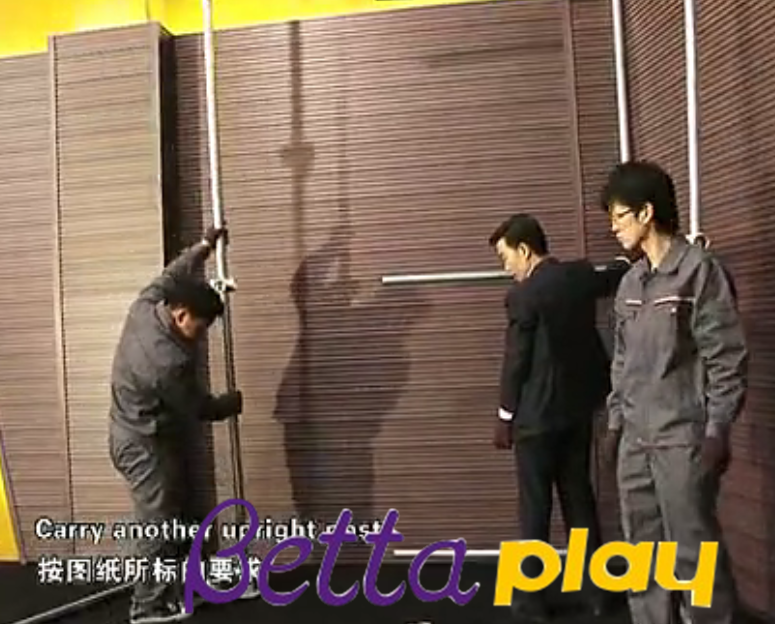
For safety, the upper connector should also be fixed slightly.
Then insert the connecting tube and tighten the fixing screws.
According to the drawings, insert different link parts on different columns. You can also put the foot plate first and tighten all the connection fasteners.
7. Stand up the column, dock with the connecting pipe, and tighten the screws.
With the guide of the catchers , you can install the frame gradually.
When connecting, it is required to go from 1st layer to 2nd layers, then to 3rd layers, and finally to the top, the procedure is the same.
PART 2 Installation of indoor playground accessories 1, Put the hole-opened accessory product into the standard connecting pipe, and put it into the connecting piece with the bottom as the standard. After it is in place, tighten the fixing screw and finish the whole process.
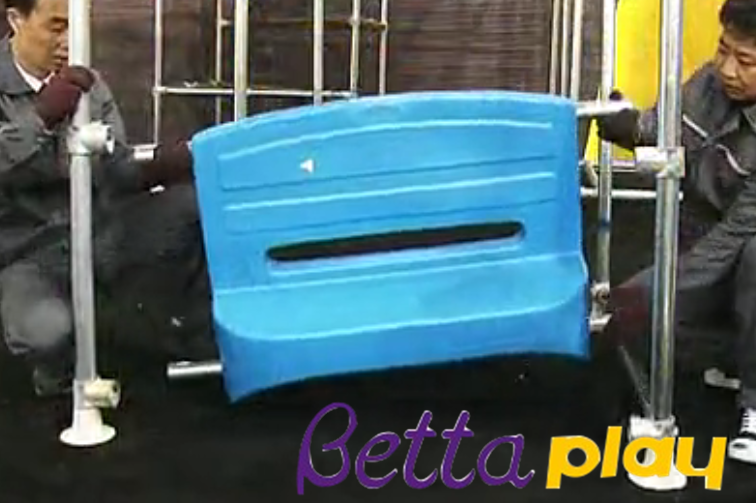
2, The same way of fixing the same products.
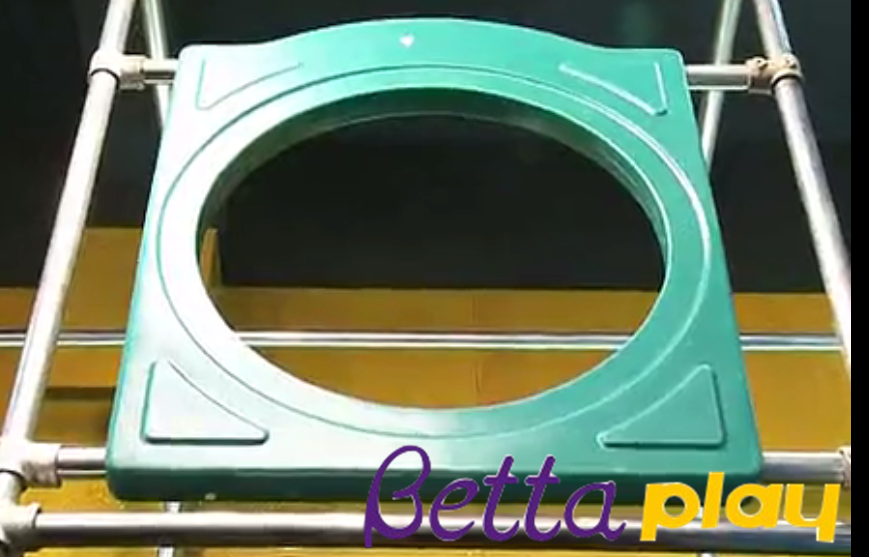
3.Lift the required product to the position marked on the drawing, fit it into the reserved connector, and tighten the fixing screw.
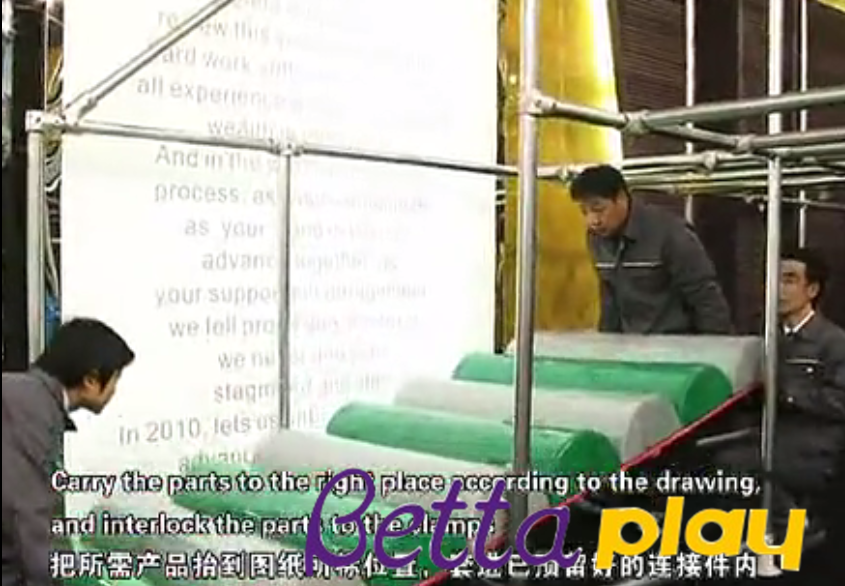
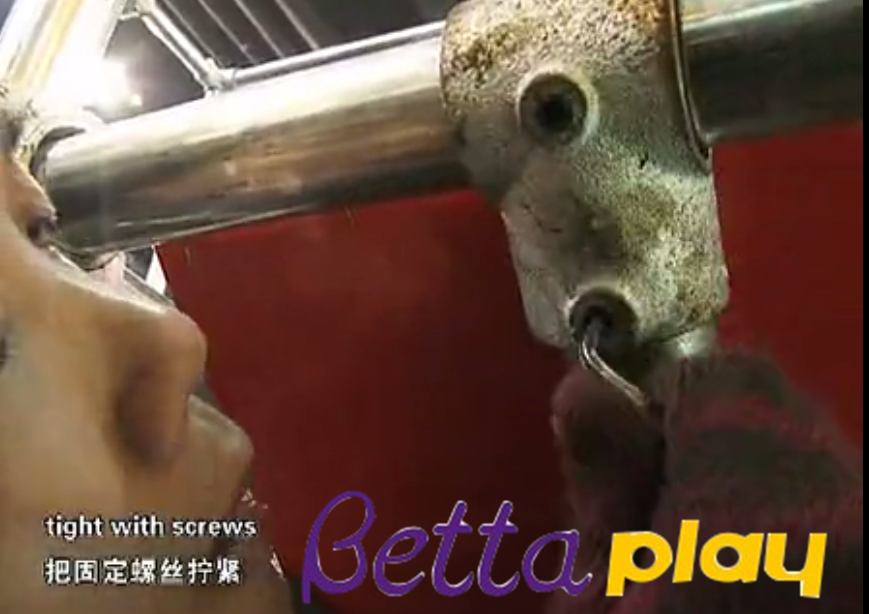
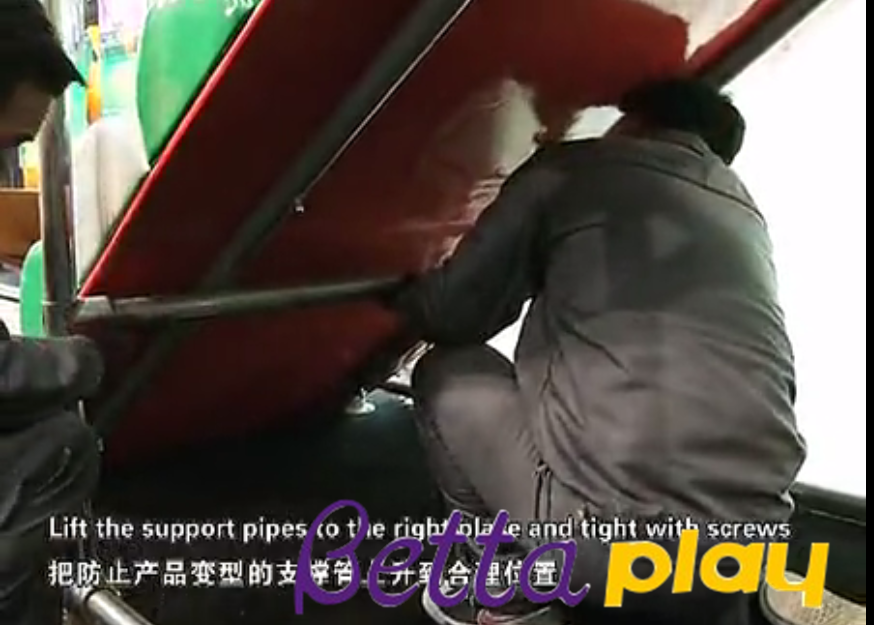
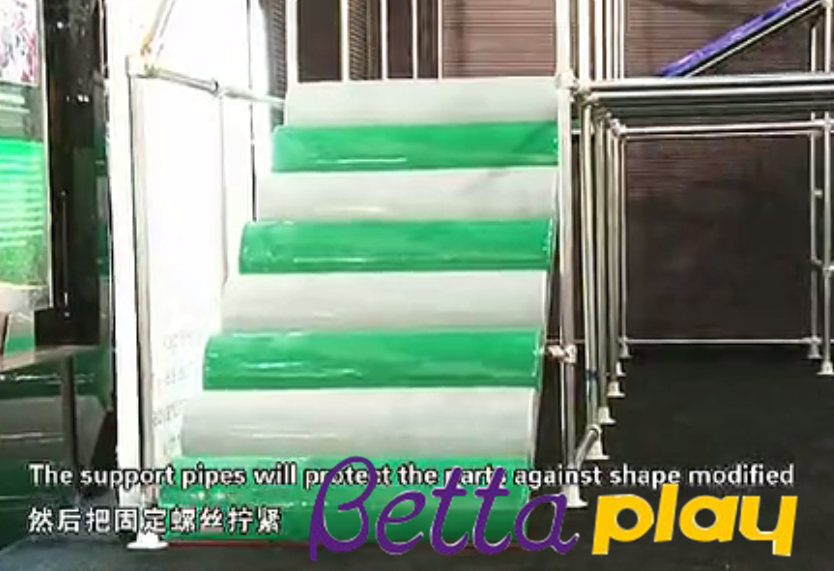
Raise the support tube that prevents the product from deforming to a reasonable position, and then tighten the set screw.
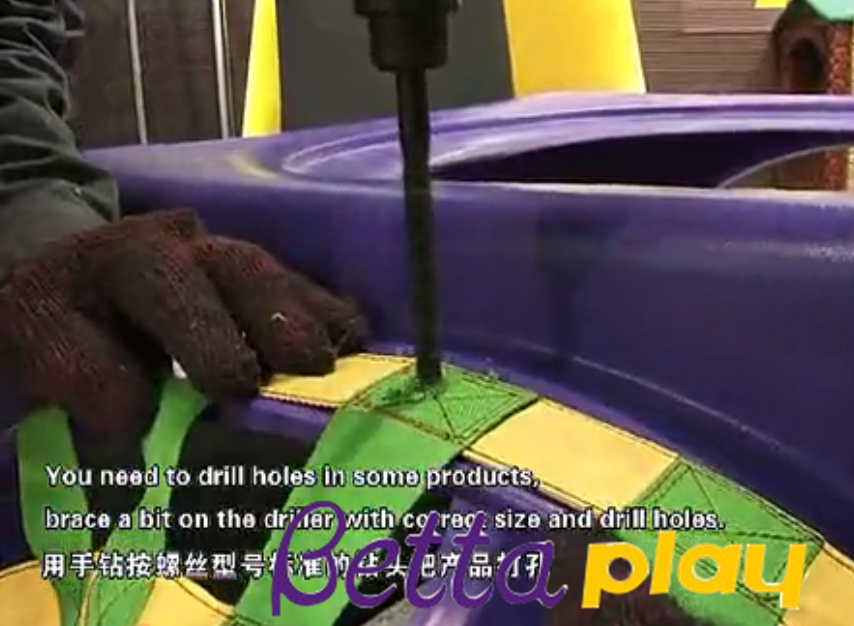
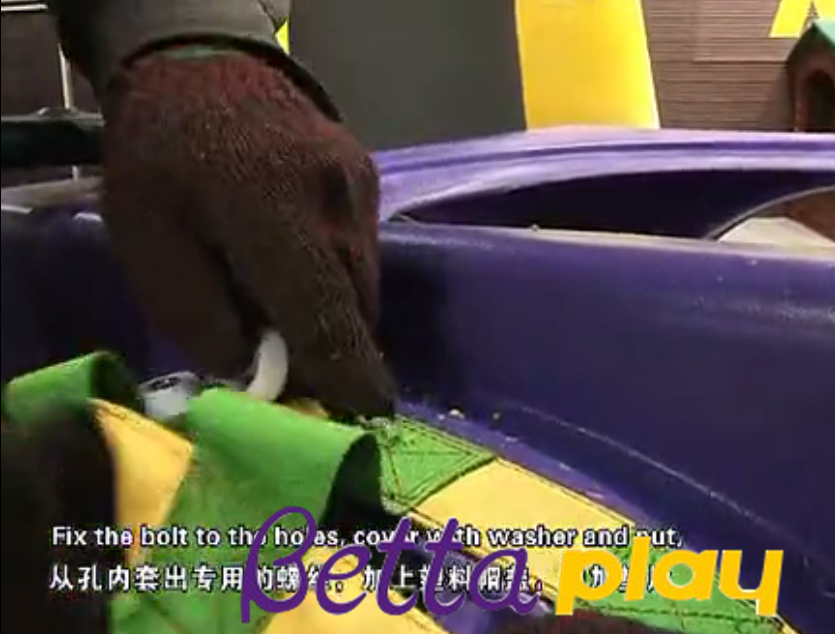
4.Drill the product with a drill bit according to the standard screw type, and insert a special screw from the hole, add a plastic cap, add a gasket, put the screw on it, and tighten with a tool.(Especially for netting part and plastic parts need to be connected by the screws)
5. Lift the assembled product to the position marked on the drawing.
The screws in the fixed parts of different products are different. The fixed product is punched with a pistol drill, the special screws are put in from the inner wall, and the cap is capped. The washers are tightened with tools.
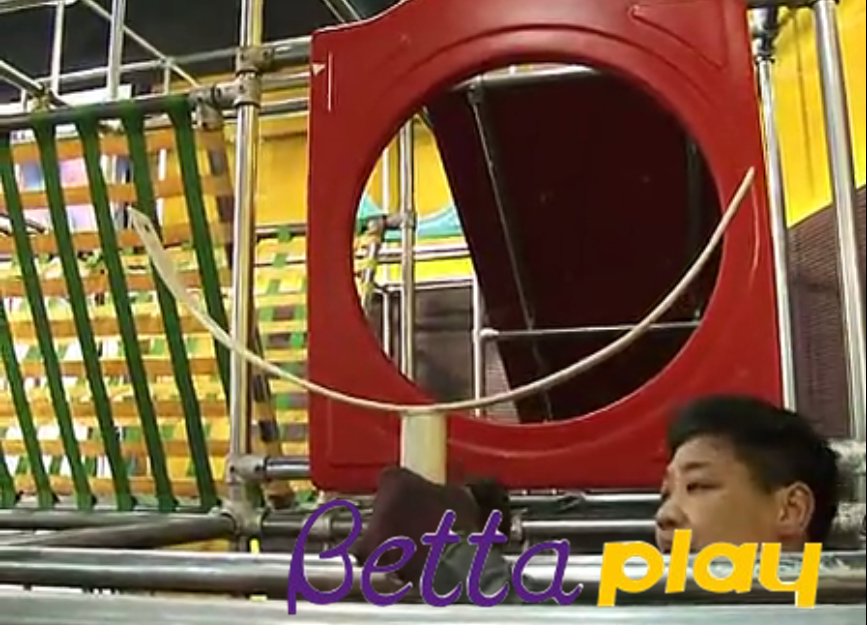
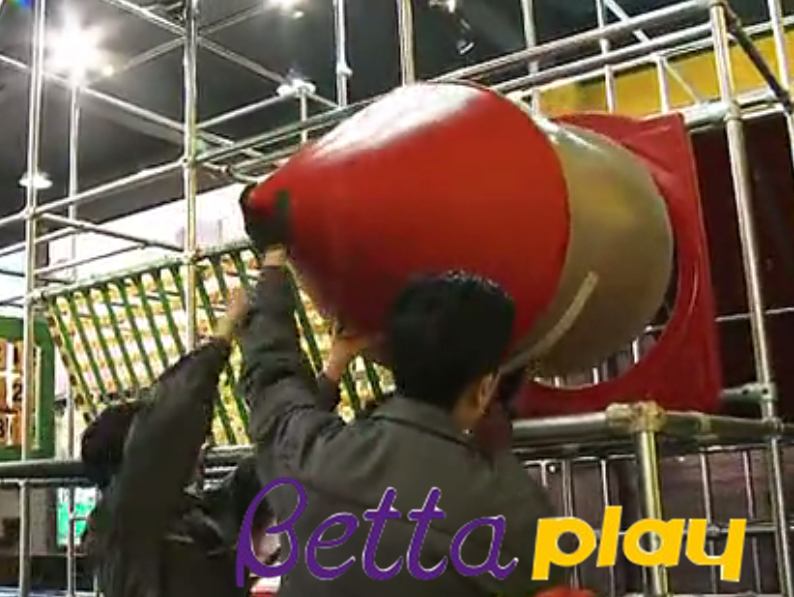
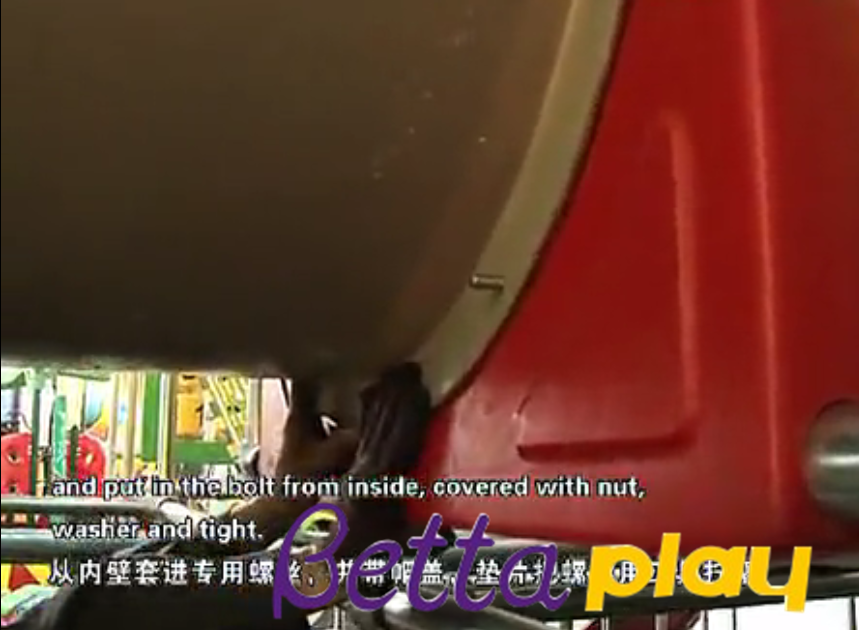
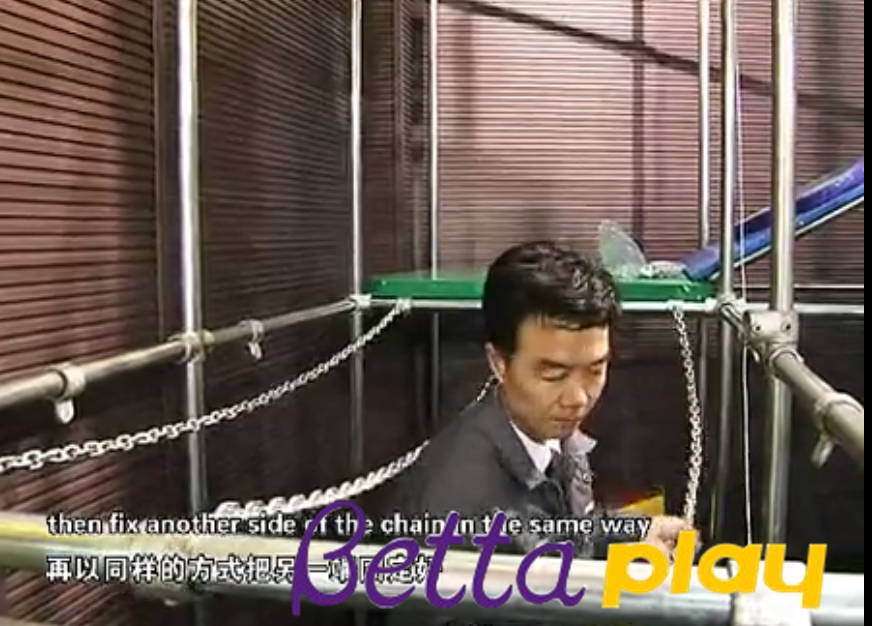
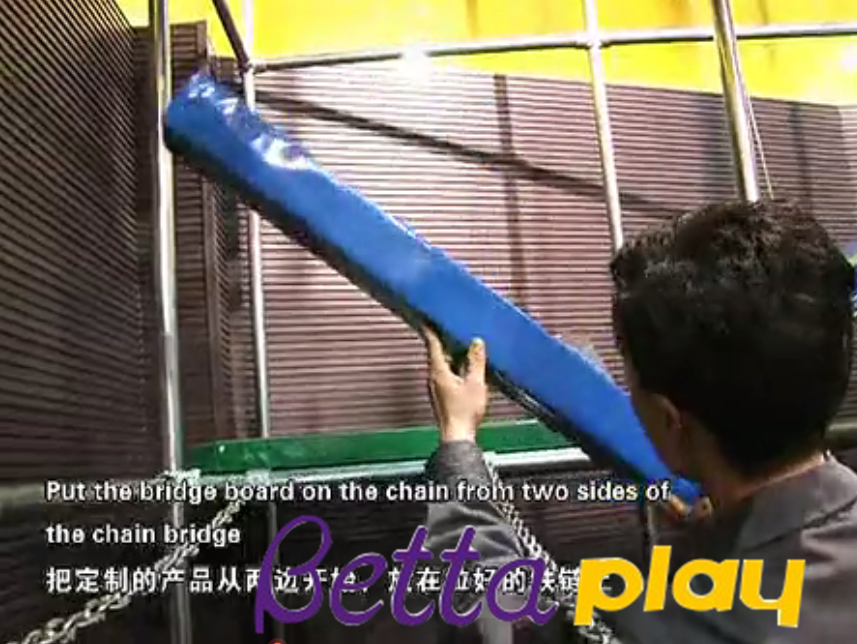
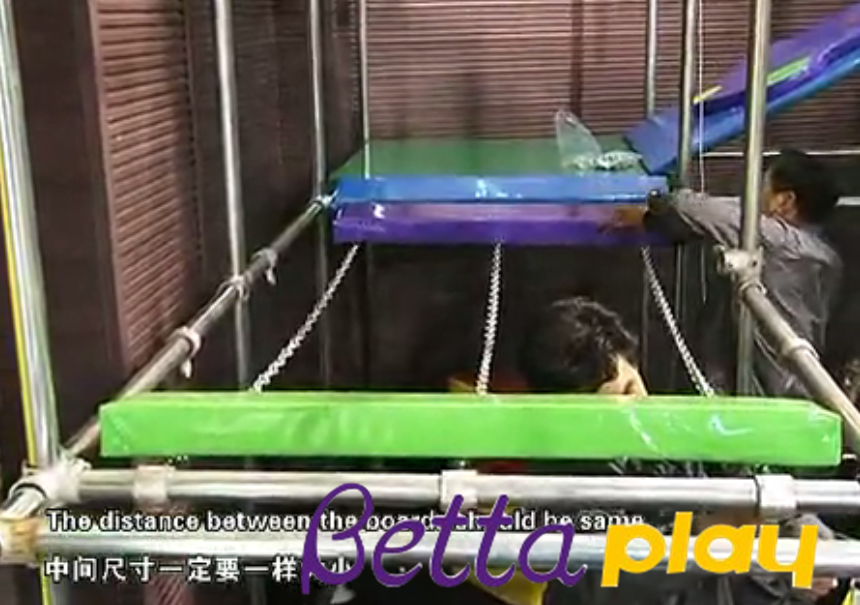
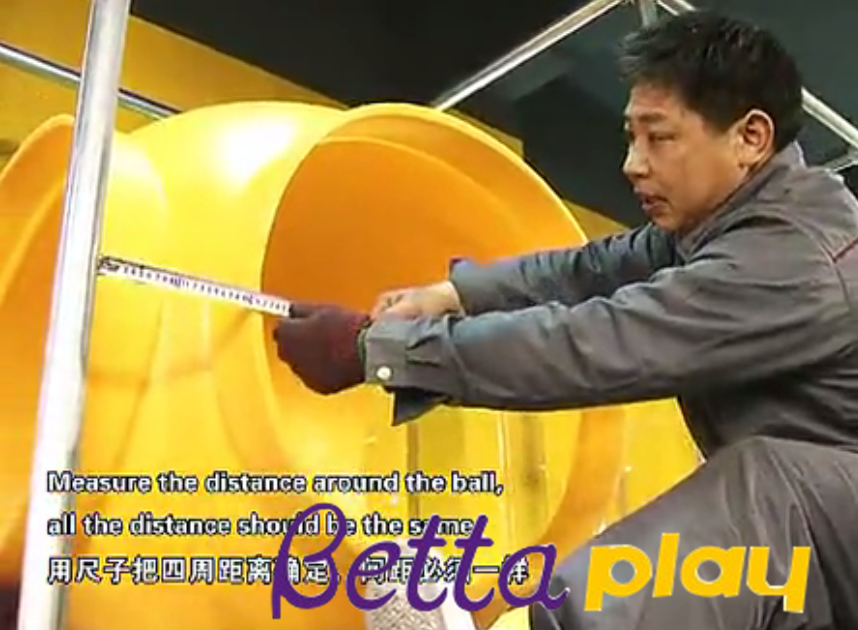
6. Products that do not need to be assembled can be directly lifted to the position marked on the drawing. The distance between the four sides is determined by the ruler, and the spacing must be the same. The electric drill is used to punch the hole from the inner wall of the product to the bottom.
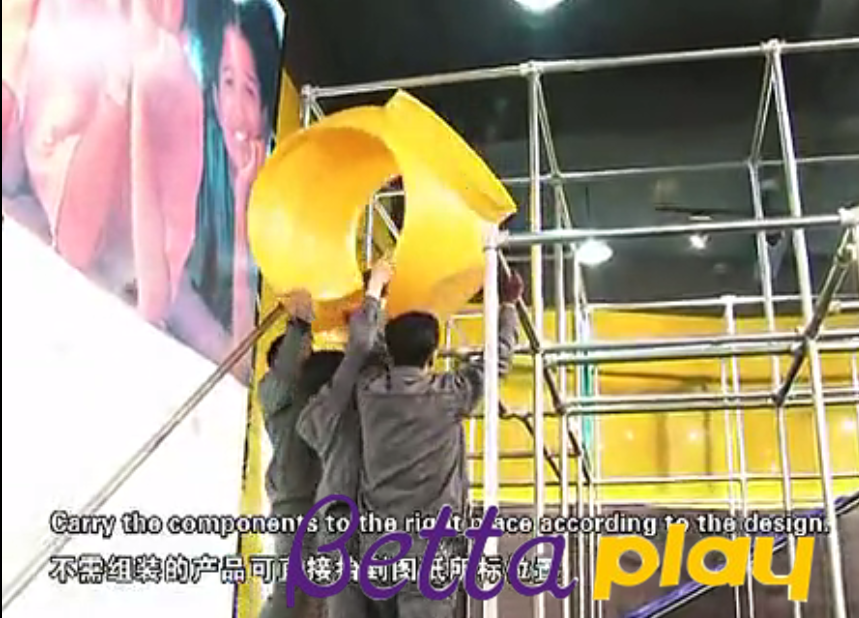
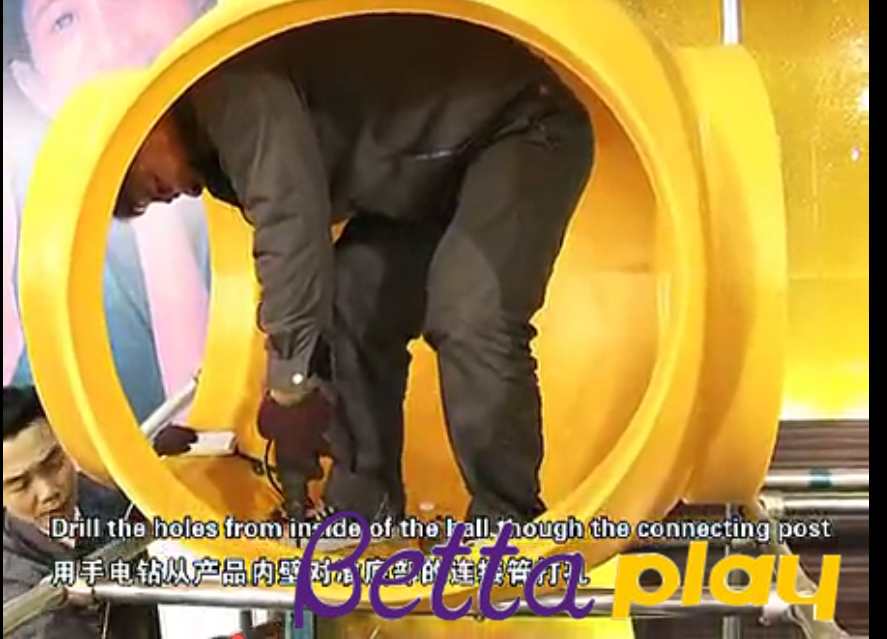
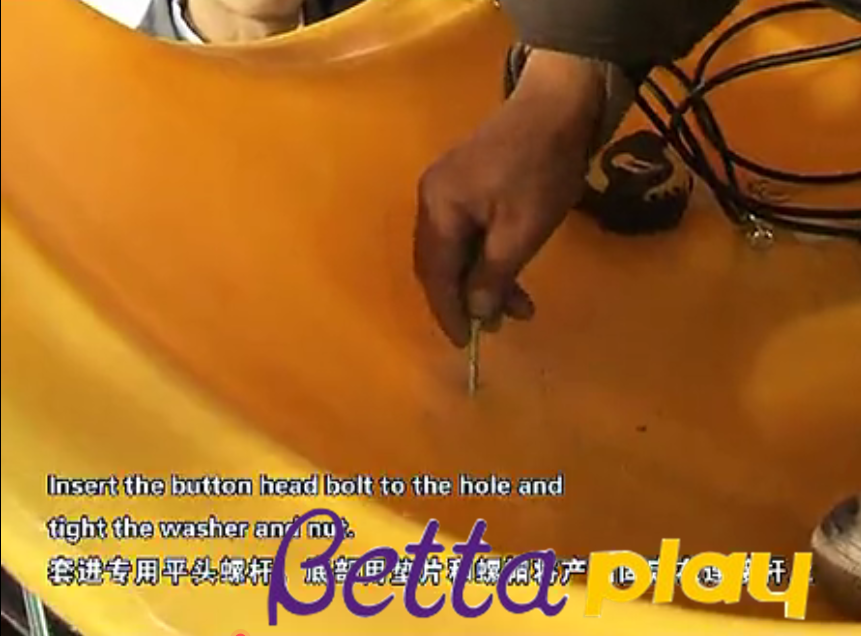
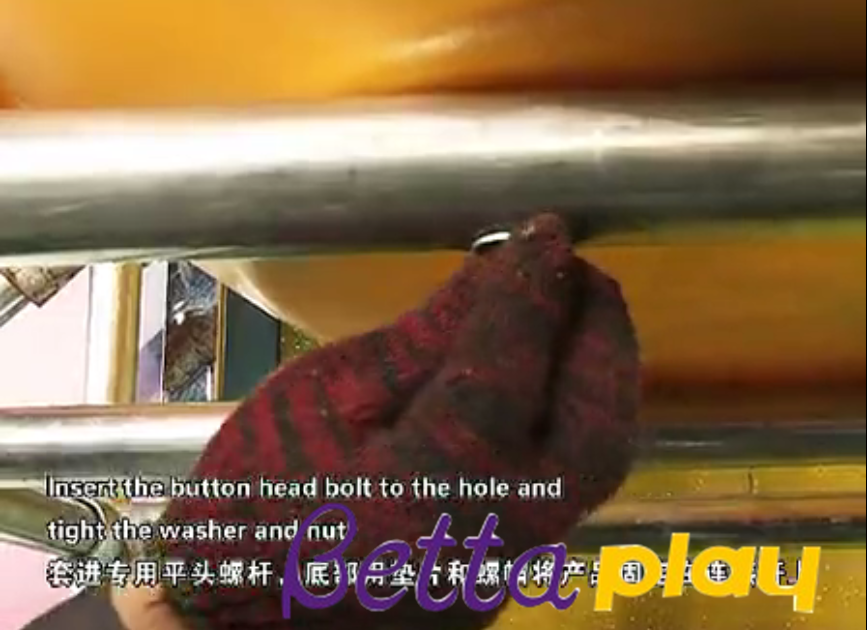
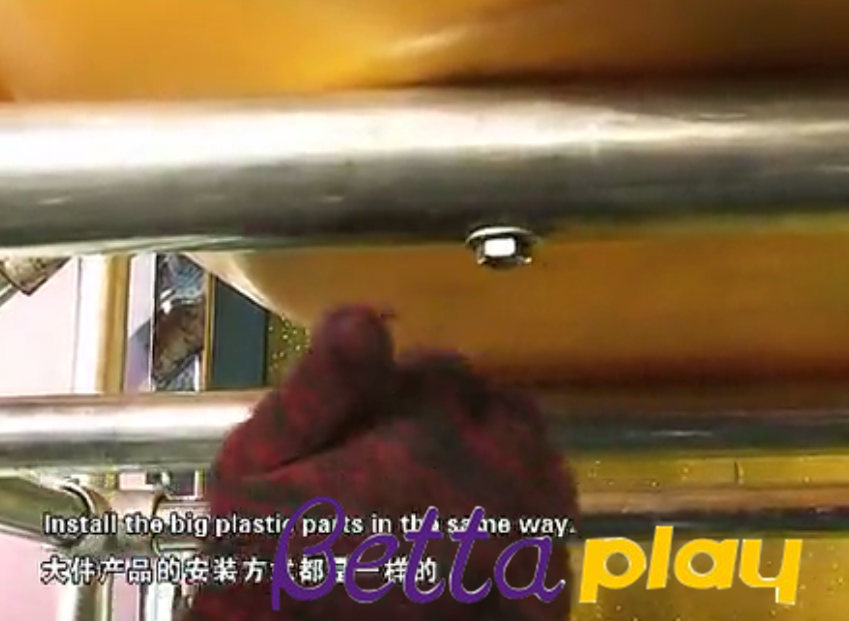
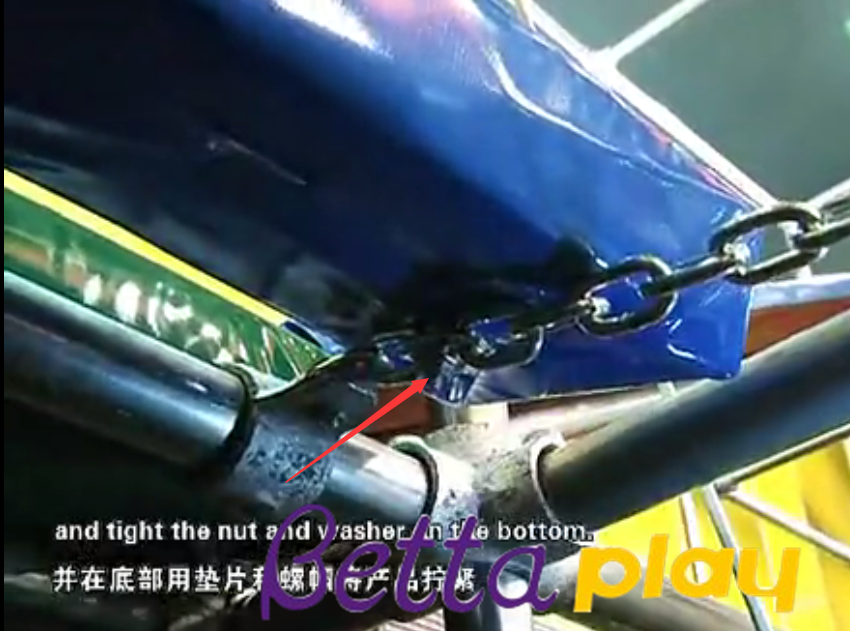
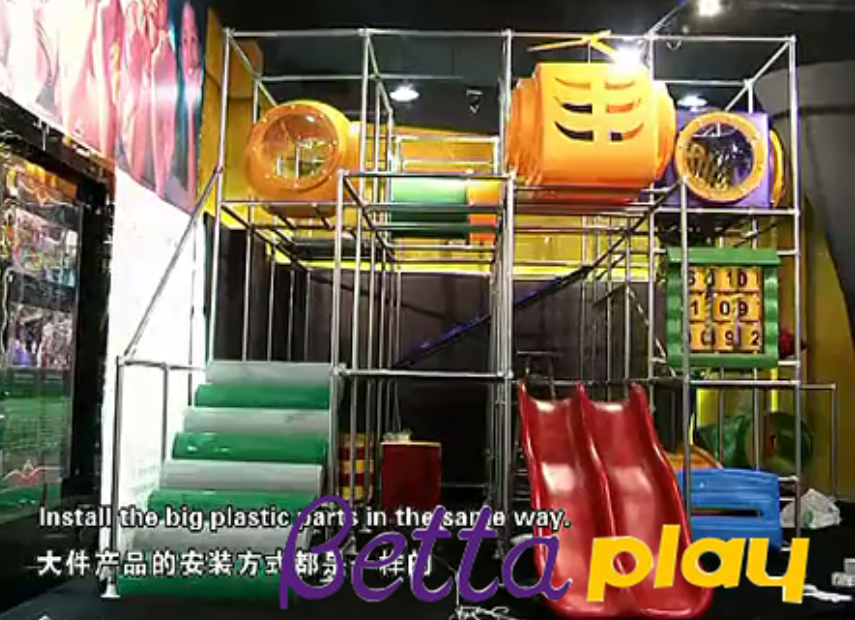
The special flat-head screw is inserted, and the product is fixed on the connecting rod with a gasket and a nut at the bottom, and the large-sized plastic products are installed in the same manner.


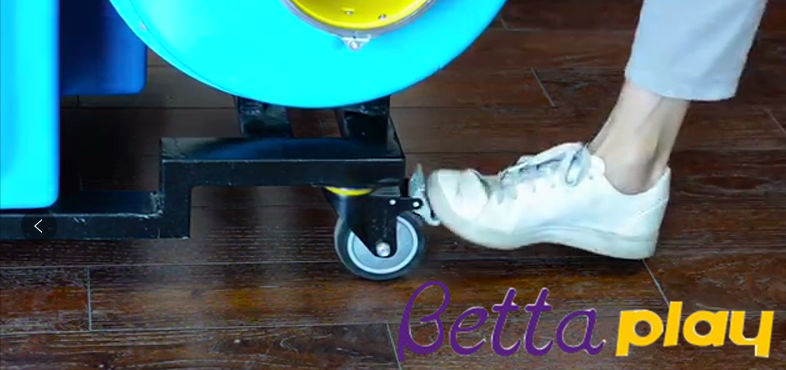
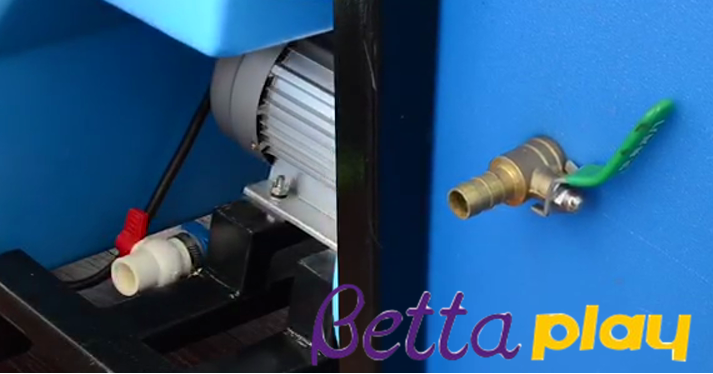
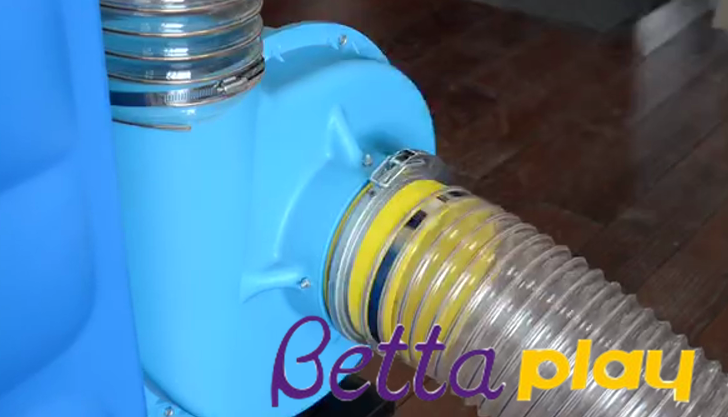
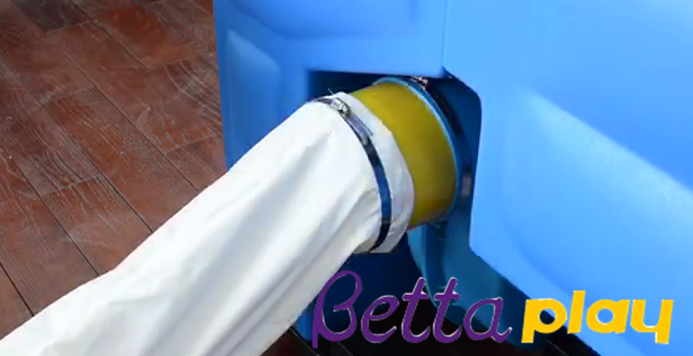
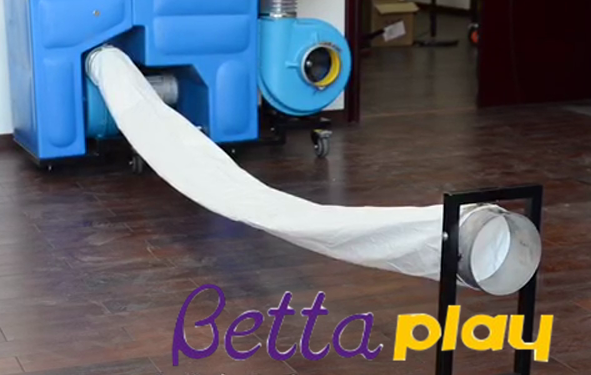
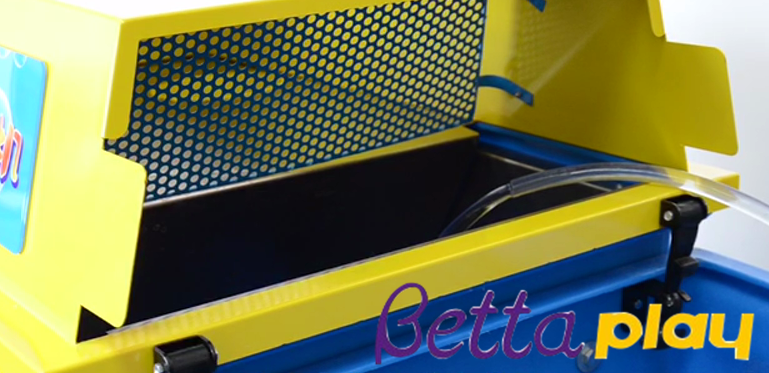
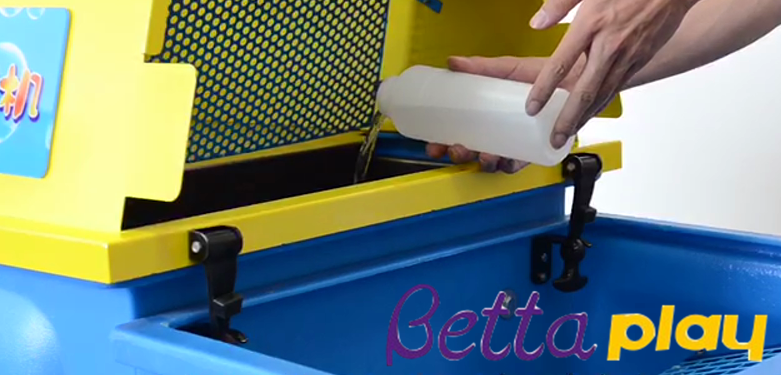
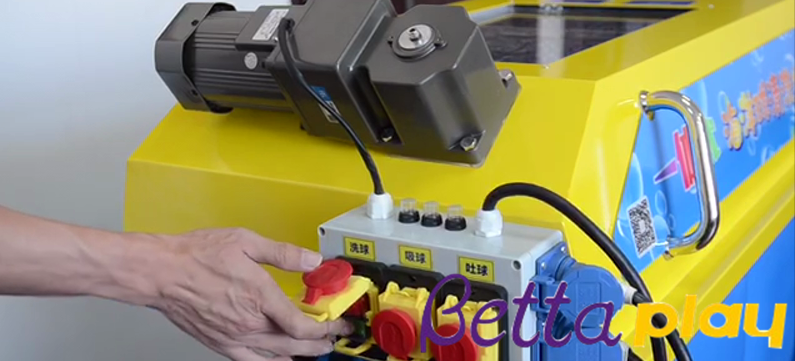
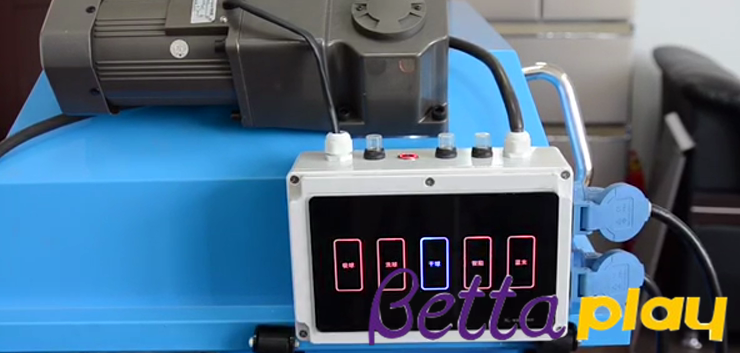
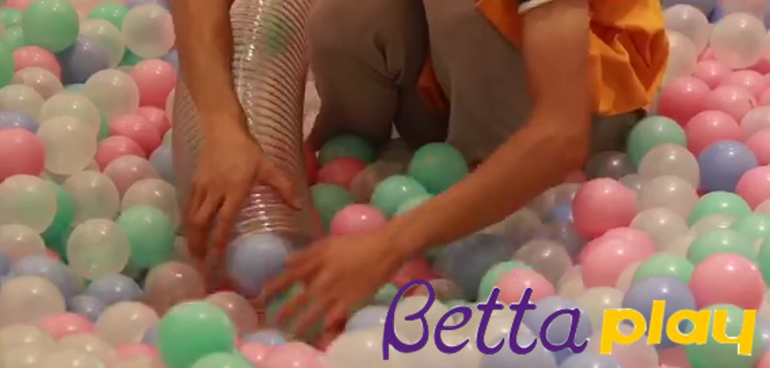
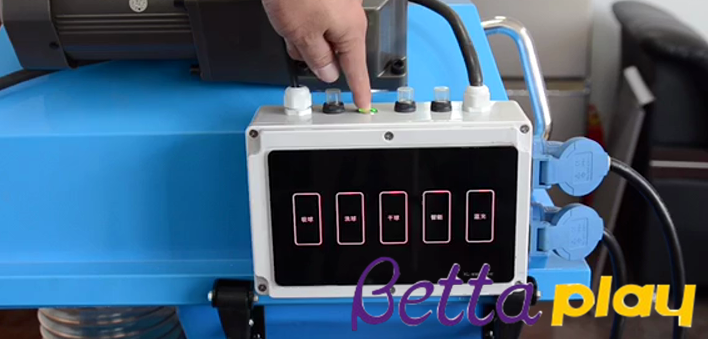
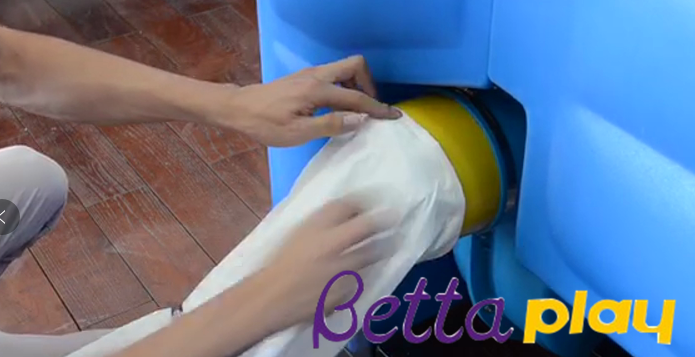
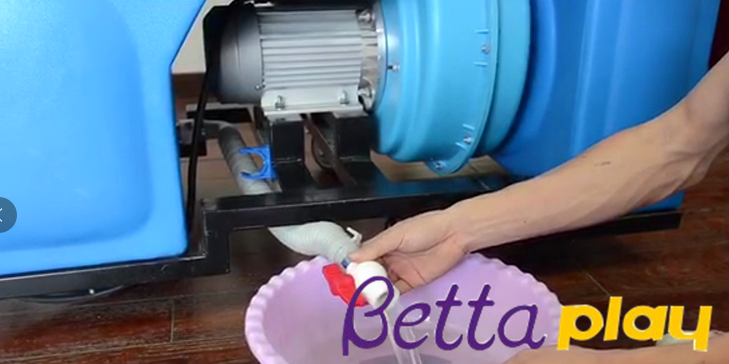
 Ocean ball cleaning machine, suitable for the park with larger ball pool and more balls.Effective prevention of infectious diseases such as hand, foot and mouth, flu, etc., killing enterovirus, Klebsiella pneumoniae, Pseudomonas aeruginosa, Candida albicans, flocculent sputum and other bacteria within 10 seconds, giving the park a sterile environment. Let parents feel more at ease. 10,000 balls can be washed per hour.Using 360° ultra-soft brush, in the water with special disinfectant, each part of the sphere is brushed in place, and then through the multi-layer filter mesh filtration of water, into the air drying stage, with cotton cloth wipe out, really achieve the ball sterilization cleaning air drying effect.